1991 honda civic lx 1.5l engine what size socket to remove fan switch
Is your timing belt or water pump faulty or in demand of a replacement? You lot could save money on expensive repair bills by carrying out the piece of work yourself – provided yous know your manner around an engine bay.
Hither, nosotros provide a step-by-pace guide on replacing a timing belt and water pump, and reply a few common queries on the cost of replacements and when the work needs doing.
Quick Links
- How to Replace a Timing Belt and H2o Pump
- When Should I Supervene upon My Timing Belt and H2o Pump?
- Signs that Your Timing Belt and Water Pump Need Replacing
- How Much Does information technology Cost to Replace the Timing Belt and Water Pump?
How to Supervene upon a Timing Belt and Water Pump
Replacing a timing belt and water pump does require a decent agreement of engines, so if you're not that experienced working under the bonnet we'd advise yous to leave information technology to the pros. Only if you lot are and you bask doing your own repairs or restorations so it'due south something you can practice yourself, and salve on some big repair bills in the process.
We'll walk you through the process of replacing a timing belt and water pump step by stride, starting with the tools you'll need.
What You'll Need to Replace the Water Pump and Timing Belt
- Socket wrench prepare
- Screwdrivers, including Philips and slot drive
- Allen key set up
- Bucket or basin (for collecting coolant)
- Plastic bags and a permanent marker (for labelling nuts, bolts and parts you lot remove from the engine)
- Safe gloves
- White paint/Tip-Ex/white chalk (for marking the cogs for simpler reassembly)
- New timing belt
- New water pump
- New coolant/antifreeze
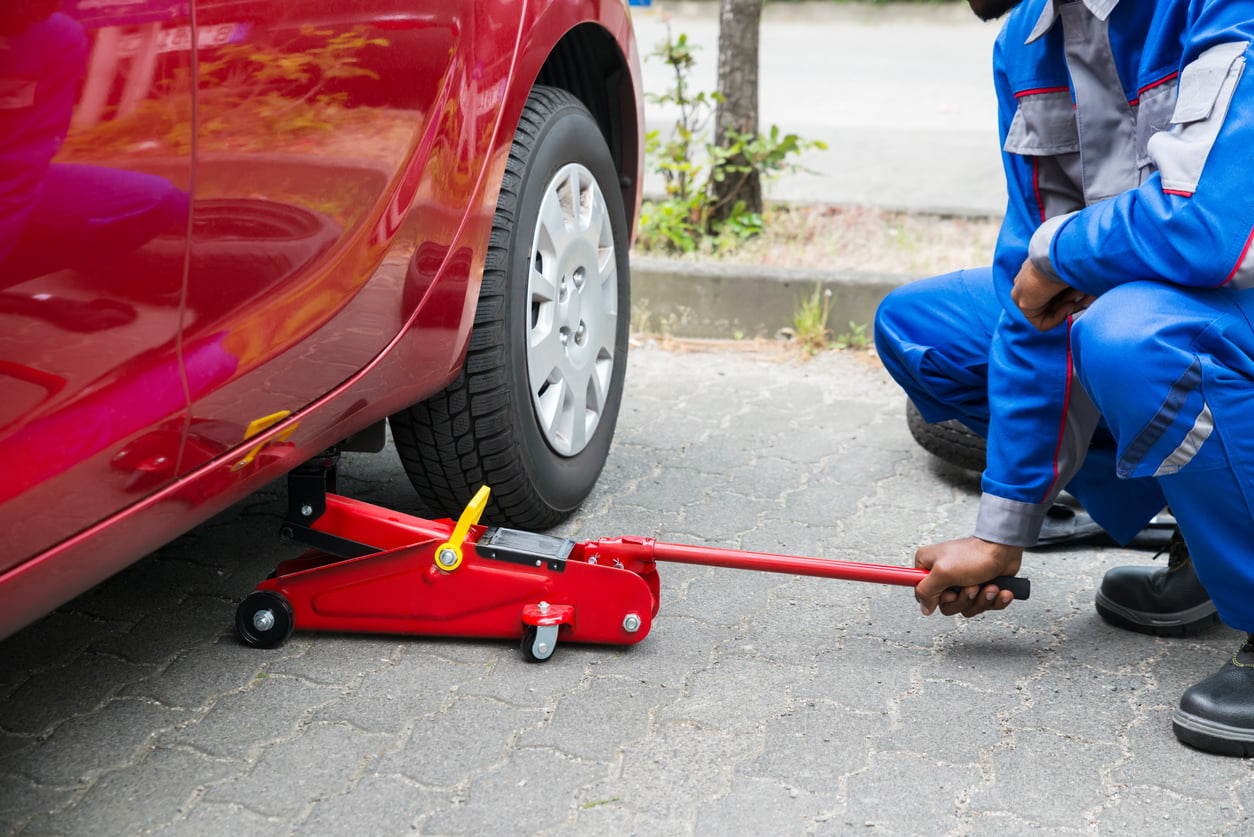
Pace ane: Training
First, set your motorcar and work expanse. Changing a timing chugalug and water pump tin can take anywhere from 1-3 hours depending on your skill level, so make sure you have the time and space to consummate the chore. Do the post-obit earlier you get-go:
- Jack up the front of the auto so you tin access the undercarriage beneath the engine.
- Identify a bucket nether the h2o pump, as coolant volition gush out when you remove it. Read the car transmission to locate the pump.
- Become all your tools ready and accept bags and a pen to hand for labelling and storing parts you remove from the engine.
- Make sure the engine is completely cool before you beginning.
- Put the engine in gear (to forbid it spinning when you're removing the timing belt) and appoint the handbrake.
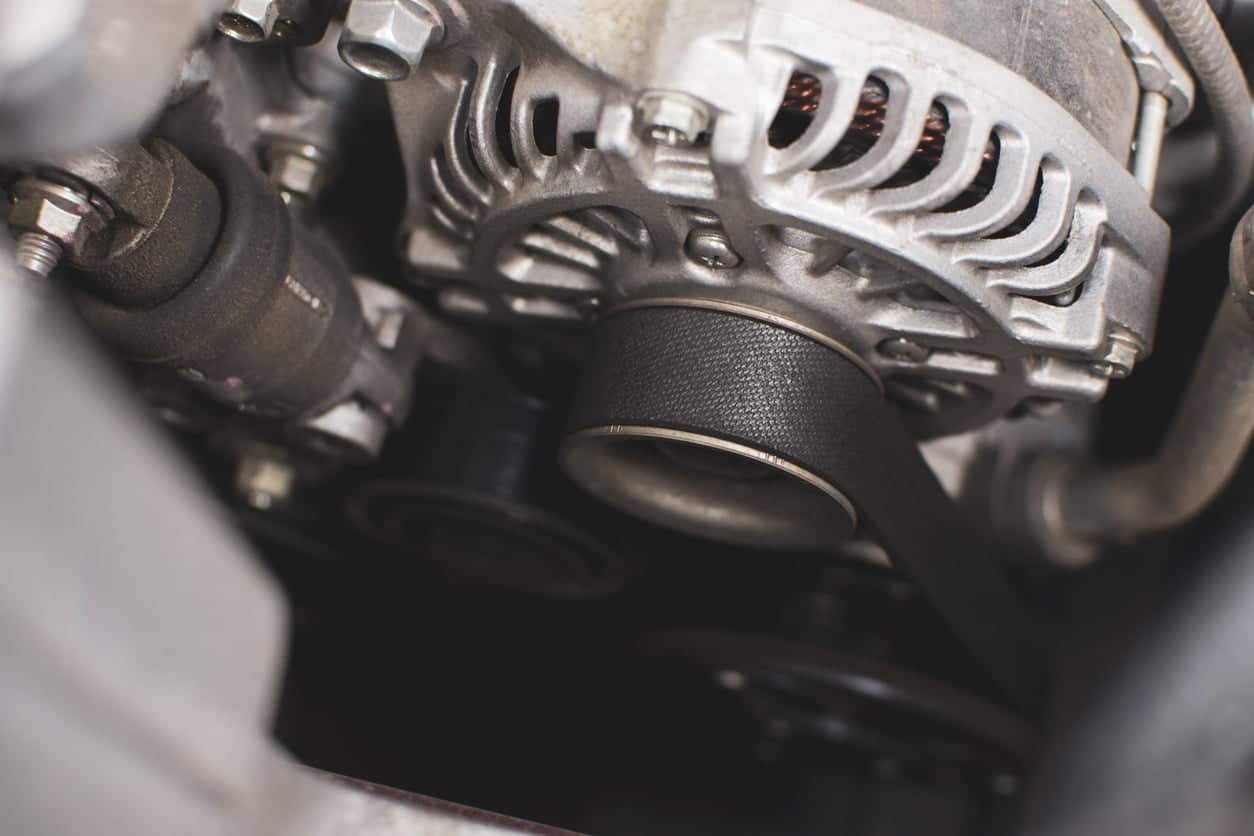
Footstep two: Removing the Belts
The fan belt and power steering belt sit down abreast the cover which houses the timing chugalug and h2o pump, so y'all'll demand to remove them commencement. Follow the steps below to remove the belts:
Step 3: Removing the Timing Case
The timing case covers the timing belt and water pump, so y'all'll need to remove it. At present that the belts are removed and the crankshaft pulley is loosened, this should be a pretty straightforward task. Here's how it'due south done:
- Remove the motor mount brackets. There are usually two bolts or screws belongings the mount in place, 1 on top and one on the side. Unscrew these and remove the mount.
- Next, loosen the bolts or screws holding the upper timing cover in identify. This volition reveal the crankshaft pulley, which you can now remove.
- Yous'll then demand to loosen a couple more bolts to remove the lesser timing instance. In one case you've washed this you should be able to meet the timing belt and water pump.
Stride iv: Mark the Cogs
Before you lot loosen the pulley and remove the timing chugalug, it'south a actually practiced idea to mark the cogs with a little white pigment, Tip-Ex or chalk. This will make reassembly much easier, as the cogs will need to realign perfectly to ensure good engine performance. Here are the areas you lot should mark:
- The summit cam, making sure the pigment marking lines upwardly with the tiptop of the cog and the gasket.
- The bottom cam, following the same process equally above.
- The cogs so you lot'll be able to line things up correctly if anything slips when you remove the chugalug.
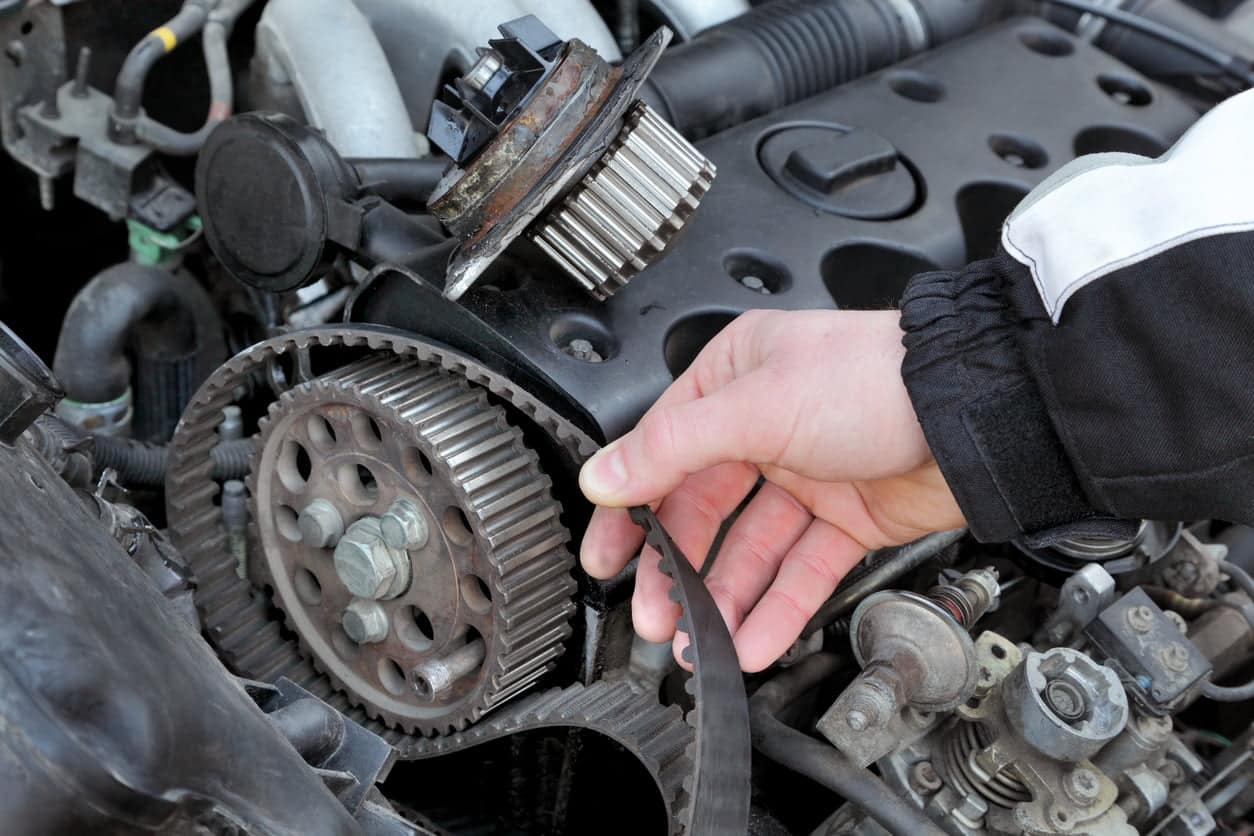
Step 5: Removing the Timing Belt
Here'due south how to remove the timing chugalug:
- Loosen the middle tensioner cog in the middle of the timing configuration; information technology'due south smaller than the two cams and volition have a bolt on it.
- Every bit you're loosening the bolt, push down on the spring and move it downwards. And then, tighten the bolt to lock it in place. This will loosen the timing belt, allowing you to remove it.
- The chugalug should at present have lost its tension and be like shooting fish in a barrel to remove. Slide it out gently, beingness conscientious to avert turning the cogs.
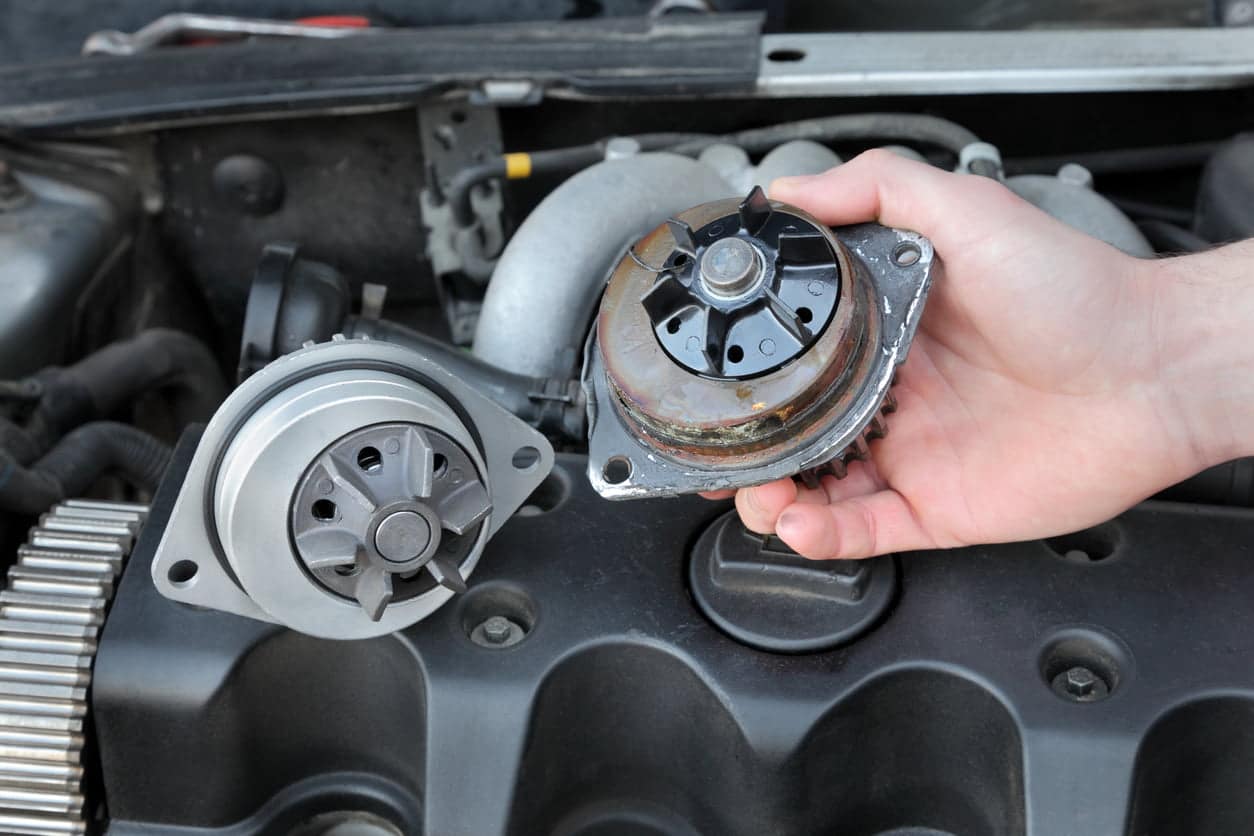
Step 6: Removing the Water Pump
Now it's fourth dimension to remove the water pump. Before you lot practice this, make sure you take a bucket in place beneath the motorcar to catch the coolant/antifreeze when you unscrew the water pump. Here's what to exercise:
- Loosen the bolts on the water pump a little at a time to slowly bleed the coolant. Removing the bolts entirely could cause coolant to spray out violently, so get slow and give the arrangement time to drain before you fully remove the pump.
- When the menstruation of coolant has slowed to a drip you can fully remove the bolts and take out the water pump.
- Remove the old gasket (the piece of metal which connects the h2o pump to the cylinder head). Yous may need to get a slot head screwdriver behind it to jimmy it out, or it might merely slide out easily.
- Tip – most new water pumps come up with a gasket, and then you don't demand to buy one separately.
Pace seven: Reassembly
Now it's time to reassemble the engine with the new water pump and timing chugalug. We'd e'er recommend replacing both components at the aforementioned time. The water pump and timing belt should be changed at an interval of 60,000 miles to forbid faults; this will also relieve you time and money, equally the labour involved in dissembling the engine to supervene upon these parts is time-consuming, and can be expensive if carried out past a garage. By replacing the ii parts together, you'll be saving time and money in the long-term. Here are a few points when reassembling:
- When you loosen the commodities on the tensioner (the middle cog you loosened and retightened to remove the timing belt) it will drop back into its original position, re-tensioning the new belt.
- Make sure the cogs yet line up with the white marks you lot made earlier now the timing belt is in place and tight. You'll need to unscrew the tensioner and realign them while the belt is loose if they're a little off. Become them as shut to the marker every bit you can.
- Now that the timing belt is back in place it's just a case of retracing your steps to connect the timing comprehend, crankshaft pulley, motor mount brackets and belts.
 Stride viii: Refill the Cooling System
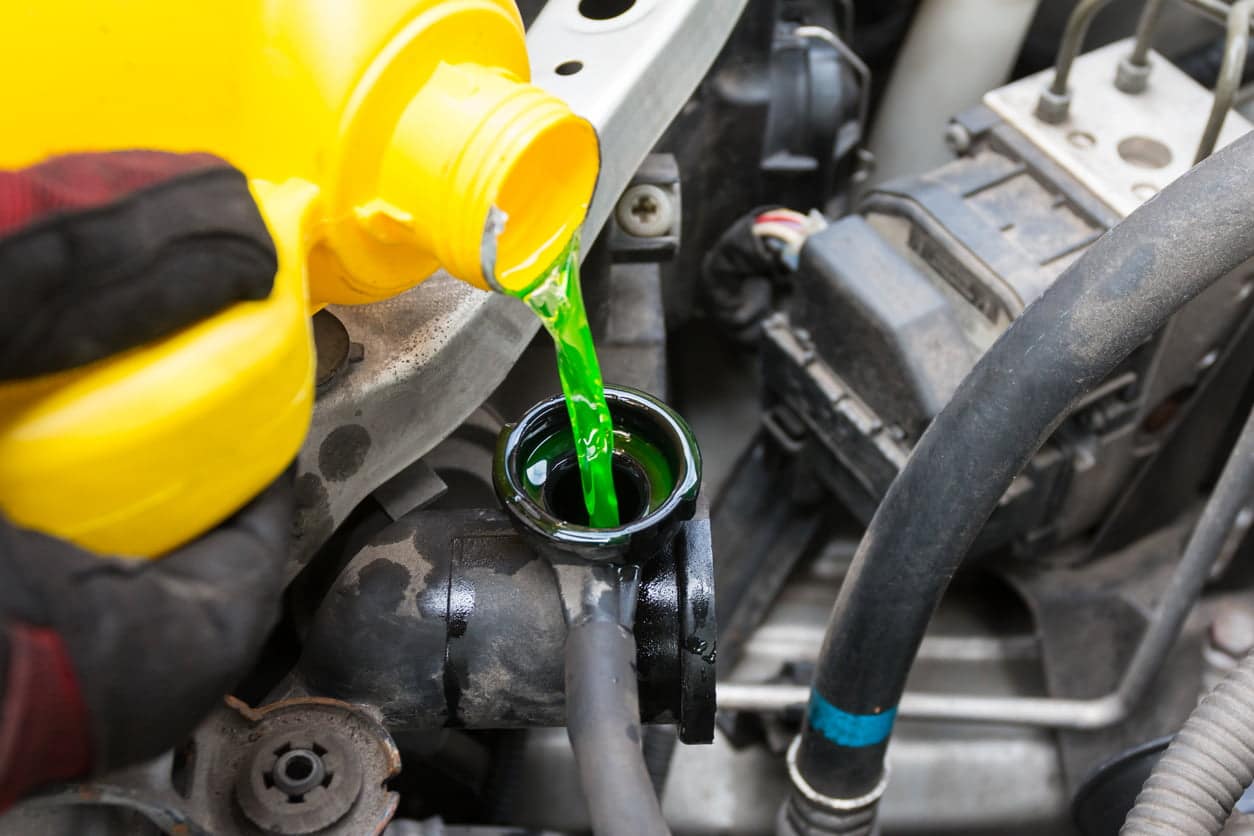
The final pace is to refill the cooling system with fresh, loftier-performance coolant/antifreeze. Here's a recap on how to refill your automobile's cooling system:
- Remove the coolant/antifreeze cap and elevation upwardly the reservoir to the max fill line.
- With the cap still removed, run the engine for around 5-10 minutes. This will expel any air from the organization and make sure it is properly filled. This is an important step, so don't forget. If air pockets build in the cooling system, this could harm the new water pump you've just fitted – so make sure to run the engine for at to the lowest degree five minutes to expel any air.
- If the coolant/antifreeze level has dropped after running the engine, top information technology upward earlier replacing the cap. And you're washed!
- Tip – Never run your car without start topping it up with good quality coolant/antifreeze. If you 'run dry' the cooling system, this could cause thermal shock and irreversible impairment.
Recall – this is a guideline but and the layout/process of replacing the h2o pump and timing belt may differ in your car. Consult a professional mechanic if you're in dubiety and only carry out the work if you're confident with working with engines.
When Should I Supersede My Timing Belt and Water Pump?
The timing belt and water pump will need to be changed in line with the manufacturer's recommendation; this is normally every 60,000 miles. Well-nigh people change both components at the same time to save on costs and time. This is because the labour involved in dissembling the engine to become at these parts is complicated and time-consuming, then yous'll be saving yourself lots of time by replacing them at the aforementioned time yourself, or lots of money if a garage is doing the work for you.
Signs that Your Timing Belt and H2o Pump Need Replacing
There are a few signs that can tell you when your timing belt and water pump need replacing:
- Rough engine noise when idling
- Heavy vibration when idling
- Misfiring of the engine
- Backlog smoke from the frazzle
- Drop in oil force per unit area, visible by an engine alert low-cal or increase in temperature
How Much Does information technology Toll to Supersede the Timing Chugalug and Water Pump?
The cost of replacing a timing belt and h2o pump varies depending on your car. If you take it to a garage, you should expect to pay between £299 and £600 for the work. If you acquit out the work yourself, yous can option up a timing belt and h2o pump kit for around £twoscore to £150.
At Holts, we're passionate about helping you have care of your car. Our DIY machine maintenance products and tools are designed to be piece of cake to use either on the road or on your drive. For more data, visit the homepage today .
Source: https://www.holtsauto.com/holts/news/engine-maintenance-how-to-replace-the-timing-belt-and-water-pump/
Postar um comentário for "1991 honda civic lx 1.5l engine what size socket to remove fan switch"